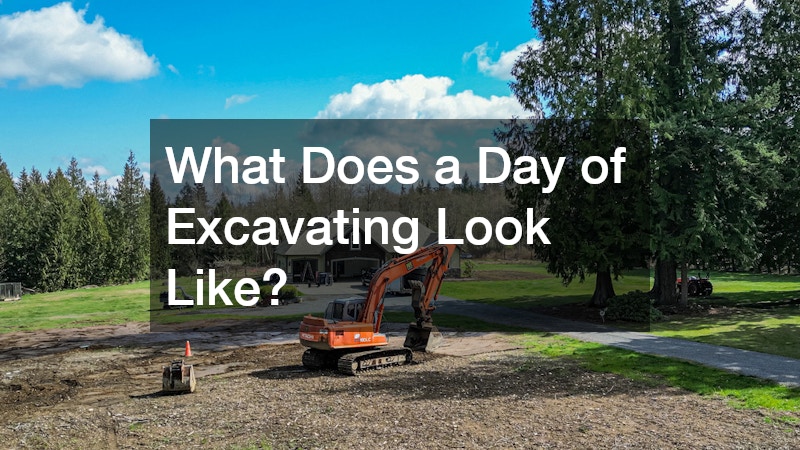
Transforming a raw, overgrown plot of land into a beautiful, functional landscape is an incredibly rewarding journey. Whether you are dealing with a small backyard expansion or preparing a multi-acre property, proper preparation is the foundational secret to long-term landscaping success. Jumping straight into planting flowers or laying down sod without addressing the underlying terrain is a recipe for future headaches, including poor drainage, shifting soil, and invasive weeds. Taking the time to properly clear out debris and establish a correct slope ensures that your investment in your outdoor space is fully protected for decades to come.
The site preparation process requires a strategic approach that balances heavy-duty elbow grease with careful environmental and structural planning. From navigating zoning regulations and utility lines to operating specialized machinery and managing water runoff, each step builds directly upon the last. In this comprehensive guide, we will break down the essential phases of clearing and grading your property. By understanding the mechanical, legal, and environmental components involved, you can successfully execute a plan that creates a pristine, stable canvas perfectly optimized for your future landscaping vision.

Assess Your Site and Navigate Essential Legal Requirements
Before a single piece of equipment touches your property, you must thoroughly evaluate the site and handle the necessary administrative work. Start by securing a certified land survey to establish your exact property boundaries so you do not accidentally clear a neighbor’s vegetation. Once boundaries are marked, research local zoning laws, environmental ordinances, and homeowners association rules, as many municipalities require specific permits for removing large trees or altering natural drainage patterns. Additionally, always call your local utility protection service (such as 811) to mark underground water, gas, electric, and fiber-optic lines, which prevents catastrophic punctures during excavation.
Developing a clear, mapped-out design plan for your future landscape during this preliminary phase will save you immense time and money down the road. Walk the property with a notebook and a roll of brightly colored surveying tape to identify exactly which features should stay and which must go. You should carefully note the health, size, and species of existing trees, mapping out sections of dense brush that require heavy machinery versus areas that can be cleared by hand. Mark structural elements like low-lying zones prone to standing water, rock outcroppings, and slope transitions that will dictate how you route heavy equipment and store materials.
Establish a Solid Financial Plan and Project Budget
A comprehensive budget is the anchor of any successful property development project, helping you avoid mid-process delays due to unexpected expenses. Site preparation can quickly accumulate costs across various categories, including permit fees, equipment rentals, professional labor, and material disposal fees. To build an accurate financial plan, research the going rates for local contractors and equipment suppliers in your specific region. It is highly recommended to allocate a contingency fund of at least 15% to 20% of your total budget to comfortably absorb unforeseen challenges, such as uncovering buried boulders, dealing with hidden underground springs, or experiencing extended bad weather.
When mapping out your expenses, you must weigh the financial pros and cons of tackling specific phases yourself versus hiring outside specialists. For instance, major structural changes or massive earth-moving tasks might necessitate hiring a professional land clearing company to ensure safety and structural integrity. On the flip side, smaller plots with manageable brush might allow you to keep costs lower by handling the labor yourself with rented machinery. Balancing your personal skill level, available time, and physical limitations against professional quotes will help you determine where to save money and where to invest in expert assistance.
Evaluate and Safely Manage Existing Vegetation
Inspecting the flora on your property requires a careful eye to differentiate between valuable natural assets and hazardous or invasive growth. Large, healthy native trees can add immediate aesthetic appeal and monetary value to your future landscape, meaning they should be flagged for protection with sturdy fencing around their root zones. Conversely, dead, dying, or structurally compromised trees present significant safety hazards and must be slated for tree removals before any grading begins. You also need to identify invasive plant species, thick undergrowth, and deeply entrenched weed systems that must be systematically eradicated to prevent them from choking out your future lawn and garden beds.
Dealing with massive timber and extensive root networks often requires capabilities that go beyond standard consumer-grade chainsaws and hand tool rentals. When dealing with dense forests or exceptionally large hazards, homeowners frequently turn to a dedicated land clearing service to safely drop and process heavy wood. These specialists possess the industrial-strength equipment needed to grind down stumps, clear thick thickets, and masticate heavy organic matter efficiently. Managing the vegetation correctly at this early stage prevents buried stumps from rotting later, a common issue that causes localized ground sinkage and ruins pristine grading work.
Secure the Ideal Equipment for DIY Success
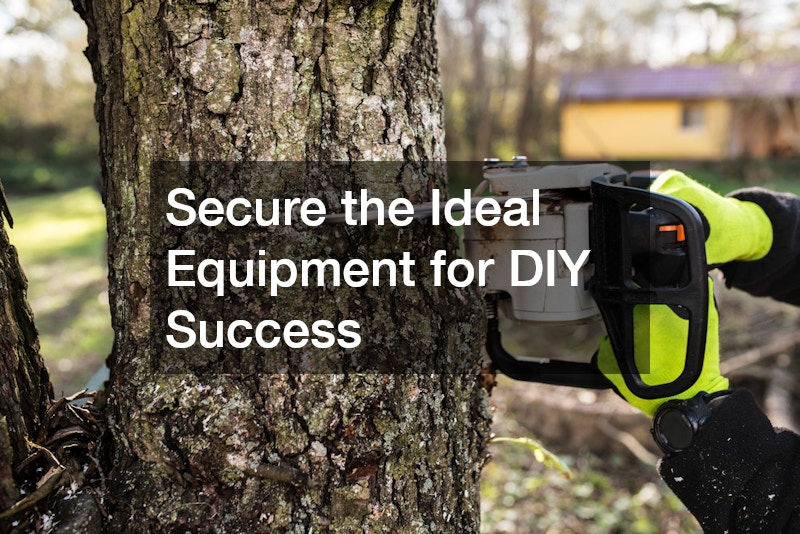
If you choose to tackle the clearing and grading process as a do-it-yourself project, selecting the right machinery is absolutely critical to your safety and efficiency. For modest yards with light brush, smaller walk-behind machines like brush hogs, power augers, and commercial-grade tillers are usually sufficient. However, larger acreage or rocky, compacted soils generally call for riding compact track loaders, skid steers, or mini-excavators equipped with specialized attachments like root grapples and grading buckets. Always prioritize safety by wearing appropriate personal protective equipment, including steel-toed boots, heavy-duty work gloves, safety glasses, and hearing protection whenever machinery is active.
Renting machinery is an excellent, cost-effective way to access industrial power without the massive financial burden of purchasing and maintaining heavy equipment. Working with a reputable equipment rental service allows you to get expert advice on which machine size and horsepower rating best match your specific terrain and soil type. Additionally, these rental yards ensure that the machinery is fully serviced, fueled, and mechanically sound before it arrives at your property. They will also provide a thorough operational walkthrough, which is vital for safely navigating slopes and maximizing the machine’s efficiency during your limited rental window.
Master the Fundamentals of Safe Timber Removal
Felling trees is an inherently dangerous task that demands strict adherence to safety protocols, proper mechanics, and clear situational awareness. Before making any cuts, you must inspect the tree’s natural lean, look for dead limbs trapped in the upper canopy, and establish two clear, unobstructed escape paths leading diagonally away from the planned direction of the fall. Utilizing proper notch-cutting techniques—specifically a clean directional notch followed by a precise back-cut—allows you to maintain control over the trunk as it begins its descent. If you lack extensive experience operating high-powered chainsaws or dealing with tensioned wood, do not hesitate to contact professional tree removal companies to handle the heavy lifting safely.
Once a tree is safely on the ground, the intensive process of limbing, bucking, and removing the remaining stump begins. Stumps are notoriously difficult to extract because their root systems can extend outward several times the width of the tree’s canopy. While small stumps can occasionally be dug out manually or pulled using heavy trucks and chains, larger stumps almost always require mechanical grinding or a mini-excavator to rip the root ball from the earth. Leaving stumps behind is highly discouraged for landscaping projects, as they attract wood-boring pests like termites and create permanent subterranean obstacles for future grading and trenching.
- Establish Danger Zones: Ensure all bystanders remain at a distance equal to at least twice the total height of the tree being felled.
- Clear the Base: Remove all loose rocks, brush, and low-growing vines from around the trunk to ensure steady footing while cutting.
- Monitor Wind Conditions: Avoid felling timber during high winds or unpredictable gusts, which can easily alter the direction of a falling tree.
- Inspect Chainsaw Safeties: Double-check that your chain brake, throttle lock, and spark arrester are fully functional before starting the engine.
Manage Professional Lumber and Logging Logistics
When clearing large, heavily wooded acreage, the volume of timber generated can easily overwhelm a standard residential property. Homeowners facing massive timber clearing must decide whether the wood will be repurposed on-site as firewood and woodchips, or if it needs to be completely hauled away. If the property contains high-value timber species like oak, walnut, or cherry, you might consider reaching out to specialists who deal in tree logging to harvest and buy the wood. This approach can help offset a portion of your overall land preparation expenses while ensuring that valuable natural resources do not go to waste.
Finding the right professionals to handle extensive timber operations requires diligent screening to protect your property from damage. It is essential to research and vet local tree removal company options to ensure they hold comprehensive liability insurance and workers’ compensation coverage. Reputable contractors will gladly provide references, verify their safety records, and give you a detailed, written estimate outlining the scope of work. Hiring insured professionals shields you from catastrophic financial liability if a tree accidentally falls onto a structure, power line, or neighboring property during the clearing process.
Coordinate Responsible Waste Disposal and Logistics
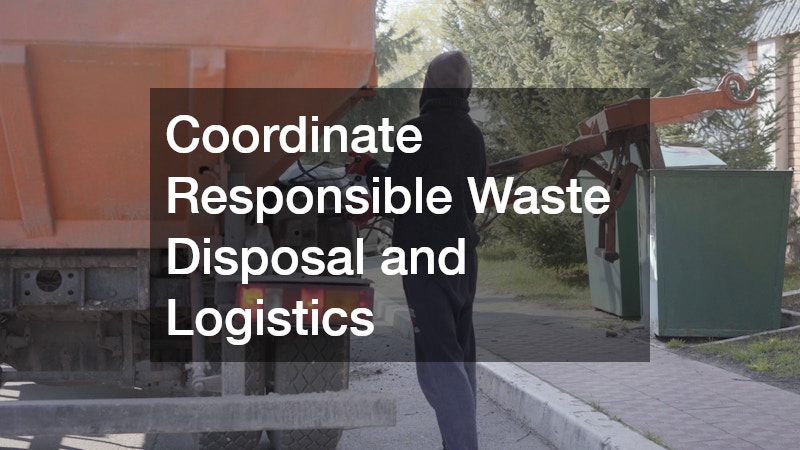
Clearing land generates an astonishing volume of organic and inorganic waste, ranging from soil, rocks, and root balls to old fencing and construction debris. Before starting, you must establish a clear waste management plan that complies with local environmental dumping regulations, as many landfills ban green waste like branches and logs. On-site options include hiring a heavy-duty tub grinder to convert branches into landscaping mulch or obtaining a burn permit if your local municipality allows open fires. If on-site processing isn’t feasible, you must arrange for heavy-haul trucks to transport the debris to a licensed green-waste recycling facility.
For non-compostable materials, old masonry, and general junk cleared from the site, renting large roll-off waste containers is often the most practical solution. Coordinating with a local company that specializes in dumpster rentals ensures you have a designated, sturdy containment zone to keep your worksite organized and safe. It is wise to select a dumpster size slightly larger than you think you need, as loose brush and rocky debris occupy a massive amount of physical volume. Keep the container placed on a flat, solid surface like a driveway or packed dirt road to prevent the immense weight from damaging soft soil or underground pipes.
Care for Local Wildlife and Prevent Habitats from Shifting
Disturbing raw land inevitably impacts the local ecosystem and the various animals that call your property home. Before starting heavy clearing work, walk the site to check for active bird nests, burrow systems, and wildlife corridors to minimize unnecessary harm to beneficial species. Timing your land clearing during the late fall or winter months is often an excellent strategy, as many animals are finished nesting and migratory birds have moved on. Taking a mindful approach prevents local wildlife from being suddenly displaced into dangerous areas or encroaching directly onto your neighbors’ developed properties.
Ripping out dense brush and old structures can sometimes inadvertently drive hidden pests, rodents, or larger animals directly toward your home’s foundation. If you encounter protected species, aggressive wasp colonies, or established mammal dens, it is best to consult with professionals who specialize in wildlife control. These experts can humanely trap and relocate displaced animals, apply safe deterrents, and guide you on how to clear brush without triggering a pest infestation. Protecting the natural balance during development ensures your future landscape coexists peacefully with the surrounding environment without creating ongoing pest problems.
Perfect Your Subgrade and Optimize Soil Health
With the surface completely cleared of vegetation and debris, you can transition into the critical process of preparing your subgrade and analyzing soil composition. Use a rototiller or a tractor mounted with a scarifier to break up deeply compacted soil layers, which allows water, oxygen, and plant roots to penetrate deeply. This is also the ideal time to collect soil samples from various zones across your property and send them to a local agricultural extension office for testing. The results will provide exact data regarding your soil’s pH levels, nutrient deficiencies, and organic matter content, giving you a precise blueprint for necessary soil amendments.
Managing different soil profiles requires tailored amendment strategies to build a healthy subterranean foundation. Clay-heavy grounds hold moisture tightly and compact easily, requiring you to incorporate large amounts of coarse organic matter to expand internal pore space. Sandy variants drain rapidly and fail to hold vital nutrients, meaning you must blend in rich compost, peat moss, or topsoil to improve its overall water retention capacity. Taking the time to work these amendments deep into the subgrade ensures that your final layer of topsoil bonds perfectly with the ground underneath, rather than sitting loosely on top of a hard, impenetrable pan.

Establish Precise Slopes for Flawless Drainage
The final, and arguably most critical, phase of site preparation is grading the land to control the movement of water across your property. The primary goal of grading is to create a smooth surface that slopes gently away from your home’s foundation, retaining walls, and driveways to prevent structural water damage. As a general rule of thumb, the ground should slope downward at a minimum rate of two to three inches for every ten feet of distance away from a building. Utilizing a simple line level, transit level, or laser level allows you to accurately measure these slight slope variations across long distances.
Once the primary slopes are established, you can focus on fine grading to eliminate small depressions, ruts, and localized high spots where water could pool. Use a heavy landscape rake, a pull-behind box blade, or a rented tractor attachment to smooth the top layer of soil into a pristine, even surface. If your property features severe slopes or complex elevation drops, consider installing structural drainage elements like French drains, gravel swales, or dry creek beds during this phase. Perfecting the grading now ensures that heavy rainstorms will flow safely through your yard, nourishing your future plants without eroding your beautifully designed landscape.
Clearing and grading your land is an intensive, multi-layered undertaking, but the long-term benefits to your property cannot be overstated. By methodically working through structural site assessments, legal permitting, vegetation removal, and precise grading, you construct a stable, healthy environment where any landscaping design can thrive. This deliberate, step-by-step preparation addresses critical hidden factors like soil health and water drainage long before they have a chance to damage your foundations, kill expensive plants, or erode your hard work.
Ultimately, the effort and care you invest into preparing the raw earth sets the exact ceiling for the beauty and longevity of your final outdoor living space. Whether you decide to pilot the heavy machinery yourself as a dedicated weekend project or collaborate with specialized professionals, keeping your focus on precision and safety yields incredible dividends. Once your slopes are perfectly leveled, your soil is properly amended, and the debris is cleared away, you will possess a flawless canvas ready to be transformed into the breathtaking, functional landscape of your dreams.