A gorgeous landscape design can look perfect on paper and still fall apart within a year if the ground underneath it was never properly prepared. Soil compaction, poor drainage, leftover roots, and hidden debris are the silent culprits behind dying plants, cracked pathways, and sinking patios. Before you invest in new trees, flower beds, or hardscaping features, it pays to understand what happens beneath the surface. This guide walks through the most common ground prep mistakes homeowners make and how to avoid them.
Clearing the Site Before Any Design Work Begins
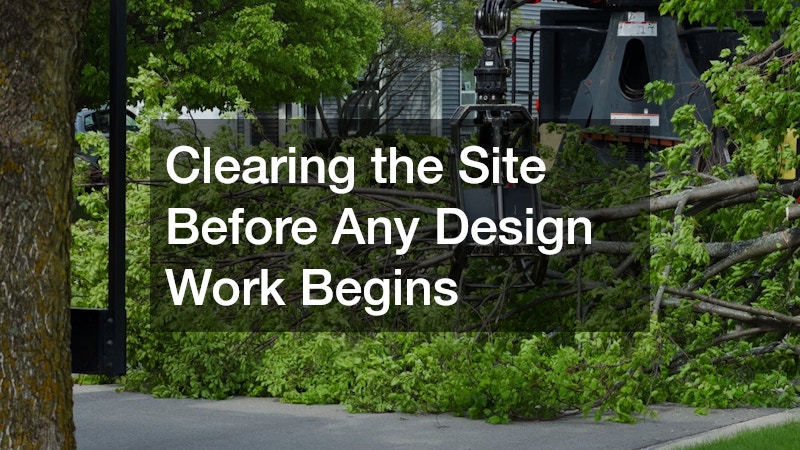
Every successful landscape project starts with a clean, honest look at the existing site conditions. Old stumps, invasive roots, construction debris, and overgrown brush all need to be addressed before soil testing or grading can happen. Skipping this step often means new plants are fighting for space against decaying root systems that continue to shift and settle for years.
For larger properties or lots with dense vegetation, professional land clearing makes the rest of the project possible. This process removes unwanted growth, levels problem areas, and gives contractors a true picture of the soil and grade they are working with. Without it, even the best-designed landscape plan is essentially being built on an unstable foundation.
Removing Problem Trees Before They Become Bigger Problems
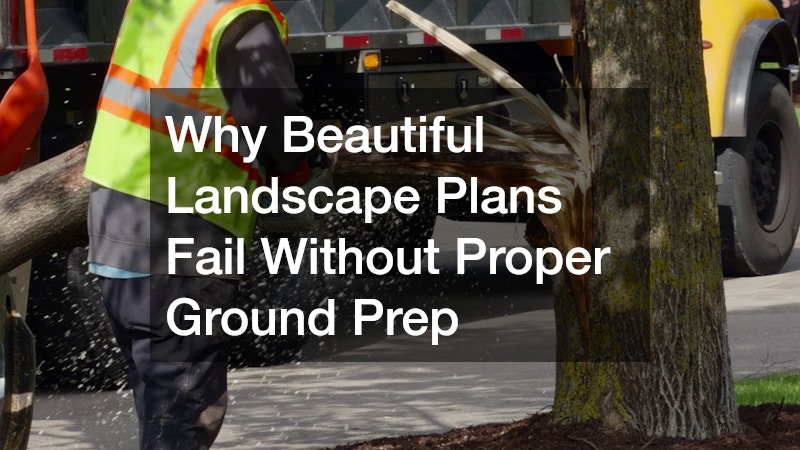
Not every tree on a property deserves to stay, and figuring out which ones need to go is a critical early step. Trees with disease, structural damage, or roots that threaten foundations, sewer lines, or driveways should be evaluated before any planting begins. Consulting professional tree services early on helps homeowners identify which trees are salvageable and which pose genuine risks. Waiting too long often turns a manageable situation into a costly emergency.
Hiring a qualified tree removal contractor ensures dangerous or unwanted trees come down safely without damaging nearby structures or utility lines. These professionals also understand root systems well enough to advise whether a stump will regrow or cause future heaving in the soil. Getting this right early prevents having to redo hardscaping or garden beds later.
- Trees leaning noticeably or showing exposed roots
- Trunks with large cracks, cavities, or fungal growth
- Trees planted too close to the foundation or septic system
- Species known for aggressive, invasive root spread
Managing Overgrown Branches Around New Landscape Features
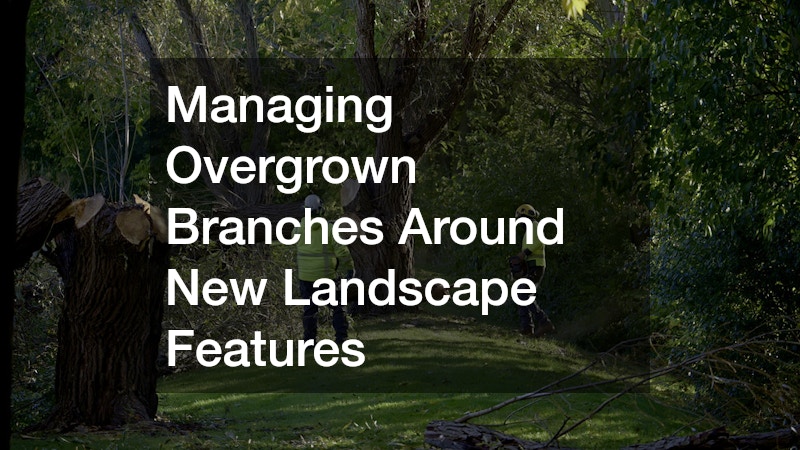
Even healthy trees that are staying on the property often need shaping before new landscaping goes in around them. Overgrown canopies block sunlight from reaching new grass, garden beds, or young plantings, which can stunt growth before it even starts. Branches hanging too low can also interfere with hardscape installation equipment or damage structures during storms.
A tree trimming contractor can assess canopy height, spacing, and structural weak points to determine what needs to be cut back. This is especially important near patios, walkways, or outdoor living spaces where falling limbs pose a real safety risk. Proper trimming also improves airflow around plants, which reduces the risk of fungal disease later on.
Testing and Amending Soil Before Planting
Beautiful landscaping depends on healthy soil, yet this is the step most frequently skipped by homeowners eager to see fast results. A simple soil test, whether a $15 DIY kit or a lab analysis through your local extension office, reveals pH levels, nutrient deficiencies, and drainage characteristics that directly affect how well new plants will establish. Most ornamentals and lawns thrive in a pH range of 6.0 to 7.0, so a reading outside that window is often the hidden reason behind poor performance.
Testing also uncovers deficiencies in nitrogen, phosphorus, and potassium, along with organic matter content, which ideally sits between 3% and 5% for most residential landscapes. A basic percolation test, digging a 12-inch hole and timing how fast water drains, can flag compaction or clay-heavy soil before it becomes a costly problem after planting.
Once results are in, amendments should be tailored to the findings rather than applied as a generic fix. Sulfur lowers pH for acid-loving plants like azaleas, lime raises it for vegetables and turf, and compost improves structure, drainage, and microbial activity across nearly any soil type.
Ignoring this step often leads to yellowing leaves, stunted growth, or plants that simply never take root. Worse, these symptoms can take months to appear, by which point homeowners have already invested in mature plants, mulch, and labor. Testing before planting costs far less than replacing an entire bed after the fact.
Compacted soil is another common issue, especially on newer construction sites where heavy equipment has driven over the yard repeatedly during the building process. You can check for compaction with a simple screwdriver test: if you can’t push a 6-inch screwdriver into moist soil with moderate hand pressure, the ground is too dense for healthy root growth. Compacted soil restricts water infiltration, causing it to pool or run off instead of soaking in where roots can use it.
Core aeration, done mechanically or with a manual aerator for smaller beds, pulls plugs of soil out to relieve that pressure and create channels for air and water. Working in two to three inches of compost afterward helps keep the soil from re-compacting and adds organic matter that improves structure over time. For heavily compacted clay, some landscapers recommend aerating twice in the first season, a few weeks apart, before planting anything with a substantial root system.
This groundwork step is inexpensive compared to replacing dead plants six months down the road. A bag of compost and an afternoon of aeration might cost $50 to $150 depending on yard size, while replacing a dozen shrubs or a section of dying sod can easily run into the hundreds or thousands once labor is factored in.
- Test soil pH and nutrient levels before selecting plants — most ornamentals thrive between 6.0 and 7.0, and a $15 home kit or county extension test will reveal deficiencies in nitrogen, phosphorus, or potassium
- Break up compacted soil with core aeration, especially in clay-heavy yards or areas trafficked by construction equipment, to let roots, water, and air penetrate below the surface
- Add organic matter like compost or aged manure, working 2-3 inches into the top 6-8 inches of soil to improve drainage in clay and water retention in sandy soil
- Grade the yard with a gentle slope of about 2% away from the house to prevent water pooling near structures and root rot in nearby beds
- Retest soil after major amendments, since adding lime or sulfur can take weeks to fully shift pH levels
Planning Drainage Before Installing Patios and Walkways
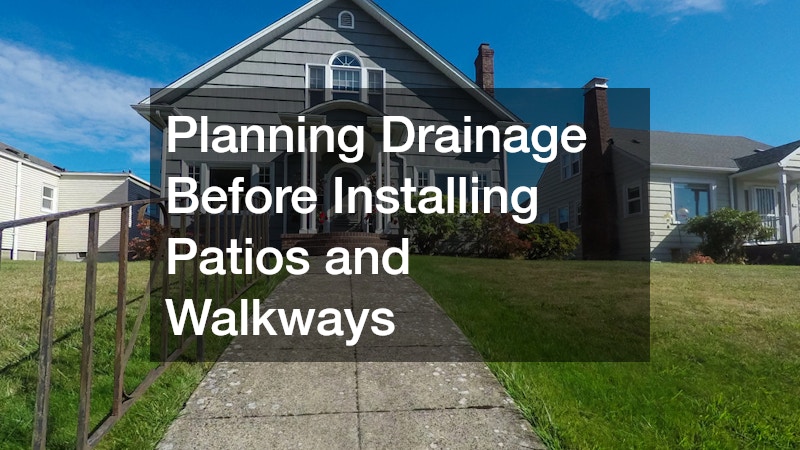
Water is one of the biggest threats to any landscape investment, and poor drainage planning is a leading cause of failed hardscape projects. Patios, retaining walls, and walkways installed without proper grading or drainage systems often crack, shift, or erode within a few seasons. This happens because water pools underneath or around the structure, freezing and thawing repeatedly in colder climates.
Experienced hardscaping contractors always evaluate slope, soil type, and water flow patterns before laying any foundation. They typically install gravel bases, French drains, or permeable pavers to redirect water away from structural elements. Addressing this at the planning stage is far cheaper than tearing out and replacing a settled patio later.
Choosing Healthy Plant Stock From the Start
Even with perfect soil and drainage, a landscape plan can fail if the plants themselves were unhealthy before they ever went into the ground. Root-bound, diseased, or poorly cared-for stock rarely recovers once transplanted, no matter how much attention it receives afterward. Inspecting plants closely before purchase saves significant frustration later.
Buying from reputable tree nurseries gives homeowners access to healthier specimens that have been properly cared for from seedling stage onward. Staff at these nurseries can also offer guidance on which species will actually thrive in the local climate and soil conditions. This kind of informed selection process matters just as much as the ground prep itself.
- Check for firm, white roots rather than mushy or circling ones
- Look for even leaf color without spotting or wilting
- Ask about the plant’s hardiness zone compatibility
- Avoid stock that has been sitting unsold for long periods

Selecting the Right Trees for Long-Term Success
Picking the wrong tree species for a given space is one of the most common and expensive landscaping mistakes homeowners make. A tree that looks small and manageable at purchase can grow into a massive root system that lifts sidewalks or a canopy that overwhelms a small yard within a decade. Researching mature size, growth rate, and root behavior before buying prevents these long-term headaches.
When browsing trees for sale, it helps to think several years ahead rather than focusing only on how a tree looks today. Consider proximity to power lines, underground utilities, and structures, since these factors determine which species are actually appropriate for a given planting spot. A little research at the buying stage saves an enormous amount of removal and repair work later.
Coordinating With Professionals for a Cohesive Result
Landscape projects involving multiple elements, like new plantings, patios, and irrigation, tend to succeed when there is one clear plan tying everything together. The grading contractor, the hardscape installer, and the irrigation technician all need to work from the same elevations and drainage plan, not three separate interpretations of what the yard should look like. When that plan doesn’t exist, each professional makes reasonable decisions in isolation that don’t add up to a functional whole.
Many homeowners hire different specialists for different tasks without ever coordinating timelines or grading requirements between them. A common sequence looks like this: the patio crew shows up first because they had the earliest opening, followed by the irrigation company, and finally the landscaper who plants everything last. Each contractor may do quality work, but if nobody flagged that the yard needed a 2% slope away from the foundation before any hardscape went in, the finished project inherits that flaw permanently.
This disconnect often causes rework, such as a patio poured before drainage issues were addressed, forcing homeowners to jackhammer out concrete just months after installation. Similar problems show up when irrigation lines get trenched through areas where a hardscape footing was supposed to go, or when sod is laid before underground utility work is finished. Avoiding this usually means bringing in a landscape designer or general contractor early enough to sequence the trades properly: grading and drainage first, then hardscape, then irrigation, then planting.
Even on smaller projects, a simple written scope of work shared among all contractors, listing final grade heights, drainage routes, and installation order, can prevent the kind of conflicts that only surface once concrete has cured or plants are in the ground.
Full-service landscaping companies can manage this coordination, sequencing site work, planting, and hardscaping so each phase supports the next rather than working against it. A typical sequence might involve grading and drainage first, irrigation lines second, hardscape installation third, and planting last — reversing that order often means tearing out finished work to fix problems underneath. Companies that oversee the whole project can catch these conflicts before they become expensive mistakes.
They also understand how ground prep decisions affect long-term maintenance needs down the line. For example, soil compaction levels that seem adequate for a patio base can starve nearby trees of root space, and drainage slopes cut for hardscaping can inadvertently direct water toward planting beds instead of away from them. Experienced crews anticipate these trade-offs and adjust the plan before concrete or soil is set in place.
Working with a single point of contact reduces the chances of conflicting recommendations between contractors. Instead of a grading crew, an irrigation installer, and a landscape designer each optimizing for their own piece of the job, one coordinated team keeps the entire timeline and budget aligned. This also simplifies accountability if an issue surfaces after installation, since there’s no ambiguity about which contractor is responsible for the fix.
Maintaining the Lawn and Soil After Installation
Ground prep does not end once plants are in the soil and hardscaping is complete. Ongoing soil health depends on regular maintenance that replenishes nutrients used up by growing lawns and garden beds. Skipping this step undoes much of the benefit gained from proper initial preparation.
Scheduled lawn fertilization helps restore nutrients, supports strong root development, and keeps grass resilient against pests and drought stress. Pairing this with periodic soil testing ensures the yard continues to support the landscape design as it matures. Consistent aftercare is what turns a well-prepared site into a landscape that actually lasts.
Responding Quickly When Storm Damage Threatens the Yard
Severe weather can undo years of careful landscape planning in a matter of minutes, especially when large trees are involved. A storm-damaged tree leaning toward a home, fence, or newly installed patio needs immediate attention before it causes further destruction. Delaying action in these situations often turns a contained problem into a much larger and more expensive one.
Knowing how to reach an emergency tree removal service before disaster strikes is a smart part of any long-term landscape maintenance plan. These crews are equipped to safely remove hazardous trees or limbs quickly, protecting both people and property during unpredictable weather events. Having this resource identified ahead of time means less panic and faster resolution when storms hit.
A landscape design is only as strong as the ground it is built on, and skipping preparation steps almost always leads to disappointing, short-lived results. Taking time to clear the site, test the soil, plan drainage, and select healthy plants sets the entire project up for long-term success. Before breaking ground on your next landscaping project, invest in proper preparation first and the beautiful results will follow naturally.